Optical Metrology.
As a provider of precision optical systems, Quartus understands optical metrology is vital to successful hardware builds. Quartus ensures the optical systems being developed are able to be aligned and their performance measured to a quantitative level. Quartus has worked to develop the optical metrology capabilities required to meet the demands inherent in cutting edge technology development. These metrology capabilities are applicable for meeting the performance of high precision optical systems, increasing throughput for volume manufacturing, and increasing the rapid prototype capabilities of the optical systems group.
INTERFEROMETRIC MEASUREMENTS
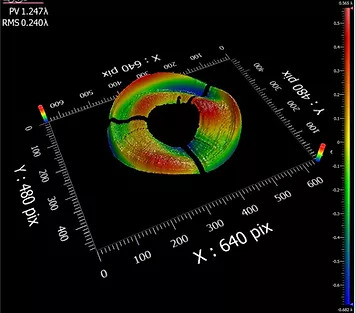
During the development of precision optical systems, Quartus focuses on developing systems that can be precisely aligned to an interferometric level. This allows for quantitative measurements that can be traced back to subsystem requirements that have been flowed down from top level system requirements. In order to support this design approach, Quartus has developed multiple interferometric metrology methods for aligning, testing and verifying optical performance at different points throughout the alignment process, or to assess final system performance. These methods include utilizing commercially available laser interferometers as well as specifically tailored setups to capture interferometric test data.
OPTICAL METROLOGY FACILITIES
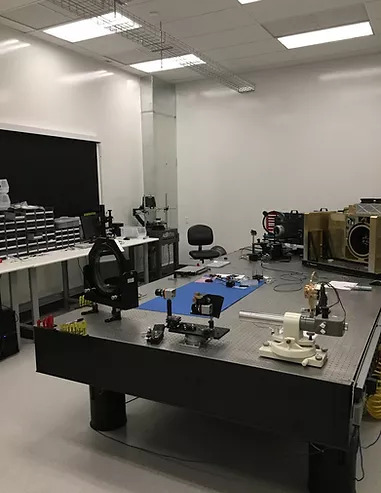
In Q3 of 2016 Quartus moved into a new expanded cleanroom complex to address the growing optical system development needs. In addition to the increased space, there was a focus to increase the optical metrology capabilities of the new facility. The environmental control of the facility was designed to precisely control the temperature of the conditioned air being introduced to the facility to reduce scintillation effects during precision optical measurements. Two of the five cleanrooms are further tailored to precision optical metrology; having the ability to stop all airflow into the room in order to further minimize any effects of air turbulence on precision measurements. The total cleanroom layout permits up to ~100ft/35mm throws for optical system tests that required longer distances.
ACTIVE THERMAL TESTING
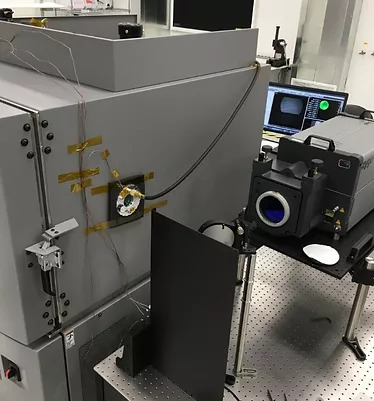
In order to understand how the actual performance of optomechanical mounts compare to analyzed results, Quartus has worked to develop in-house active testing of optical performance over temperature. This data is used to refine pointing budgets and correlate STOP analysis.
OPTICAL METROLOGY EQUIPMENT
Quartus is continuously increasing in-house optical metrology capabilities. Current equipment includes, but is not limited to:
- Two Thermal Chambers; Range -65 to 200 C; Volume 27cuft
- Zygo VeriFire QPZ & Dynafiz Interferometers with a variety of reference optics for testing up to f/3.3 and collimated diameters up to 300mm
- Laser interferometers with transmission spheres and flats
- Multiple self-referencing interferometer test components, e.g. Point diffraction interferometry and shear plates.
- Laser interferometers with transmission spheres and flats
- Point diffraction interferometer setups
- Buccini Laser Unequal Path Interferometer (LUPI)
- High speed Visible Band Shack Hartmann wavefront sensor
- Davidson eye-piece & Vermont photonics camera based autocollimators
- Two sub-arcsecond Kern theodolites
- Multiple 300mm f/5 Off-axis-parabolic mirrors and steering flats
- Power and energy meters
- High speed photodiodes
- Illumination sources (Laser and LED), and detectors operating at various wavelengths
- Custom alignment automation protocols utilizing wavefront sensor, autocollimator, and image processing feedback


